

Today I have for you nail polish strips from Sally Hansen. These have been out in the market for a bit now. Basically they are strips of real nail polish that are shaped to fit your nails. The design I chose to review is from the new limited edition collection by Avril Lavigne. When you open the box, this is what you'll find inside.
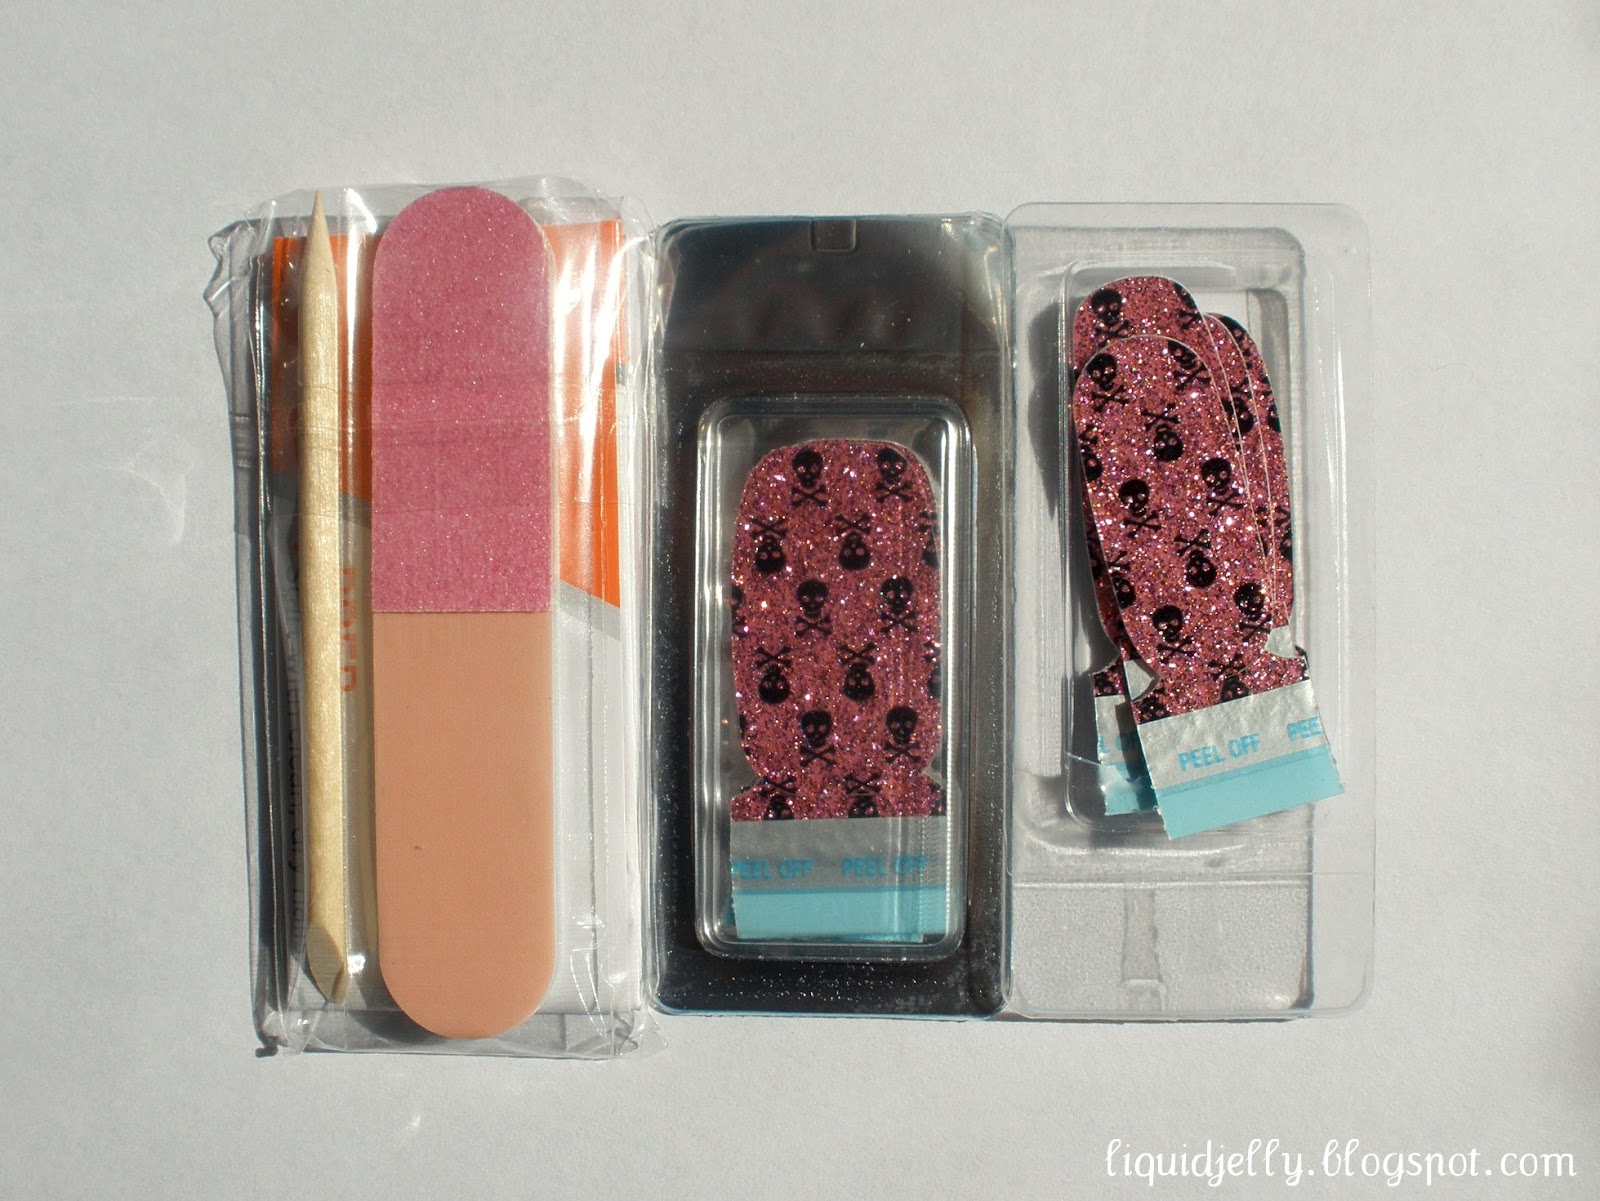 |
| Cuticle stick, file/buffer, two separate packages containing 8 nail strips. |
 |
| The 8 differently shaped strips inside one packet. |
 |
| Close up |
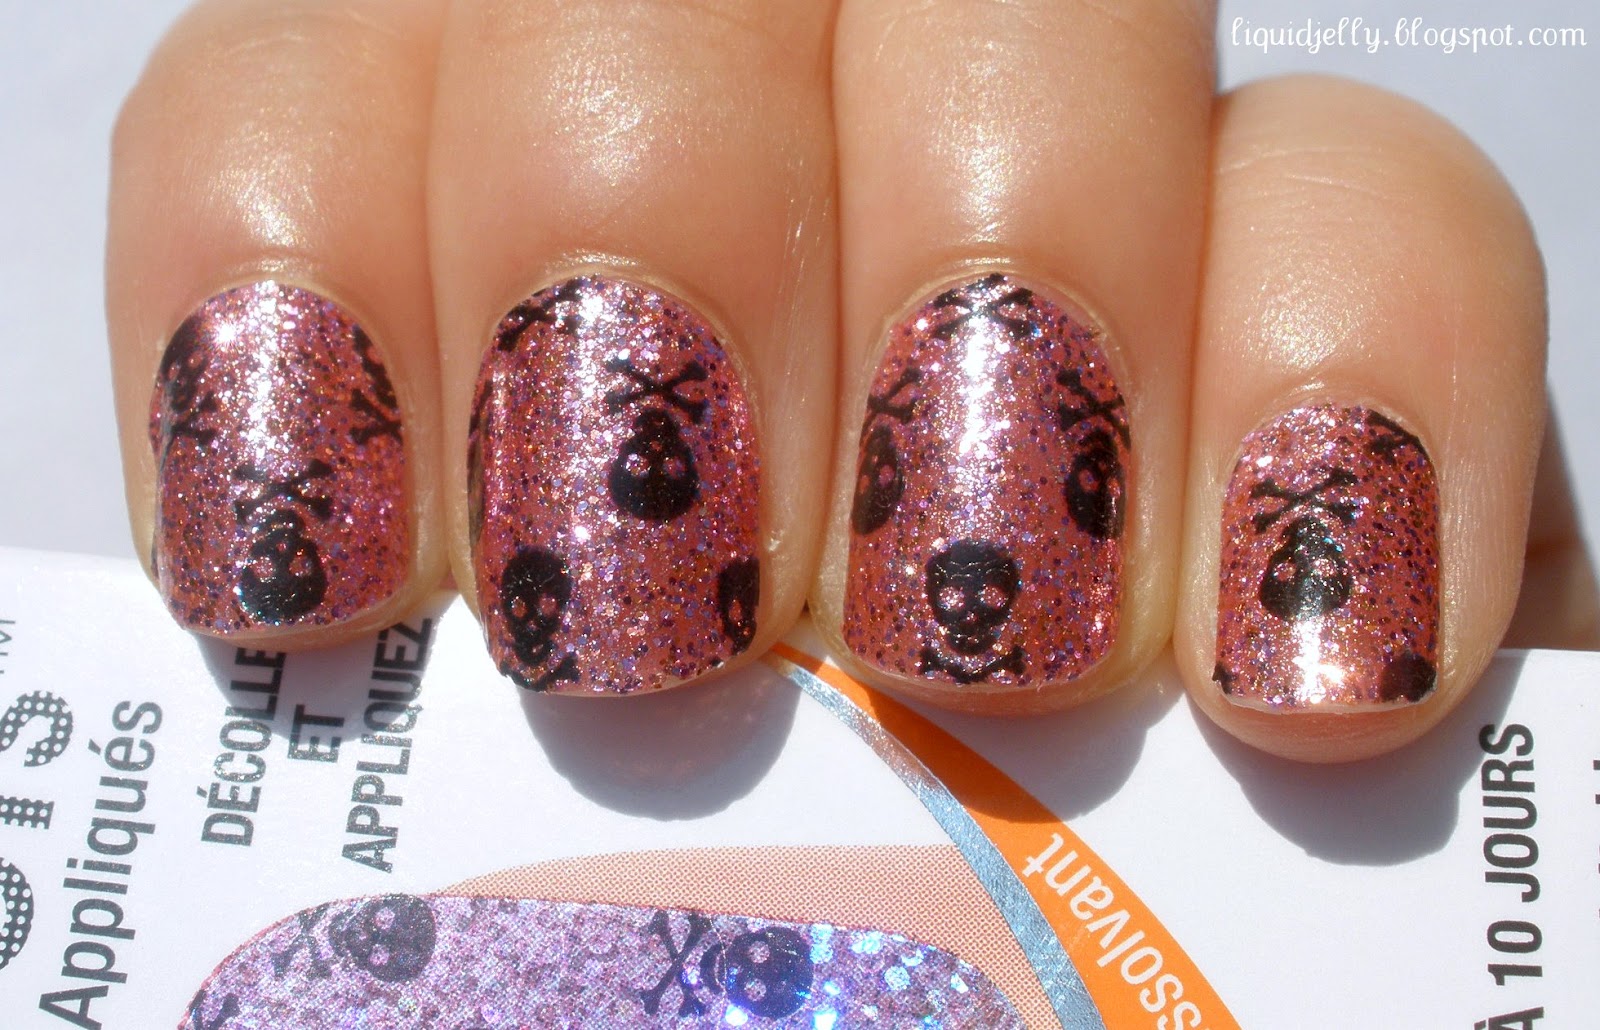
How cute is this design? 807 Headbanger has a medium pink base with fine pink-purple and orange glitter and small crossbones. My pictures make it look sort of sheer, but it looks like a completely opaque glitter mani in real life.
The Application
This was my first time using Sally Hansen Salon Effects, so the detailed instructions inside the package were helpful. I followed each direction closely to insure that these would last on my nails. I did still make a few mistakes however, so I'll share with you my tips below. While the directions are simple and relatively easy, I think the average person will need a second try to achieve perfect application.
Are the claims being met?
The selling point of these are not only the cute designs but the fact that there is no dry time. This is mostly true. Unlike regular nail polish, you won't need to worry about nicks or smudges. However, I would say that these do need a few minutes to dry and set. I would stay away from using the tips of your nails until they are set, or you may get some tip wear or a rip.
Pros
- Long wearing: Once they set, they will last you a long time. The fact that you can place these as close to your cuticles as possible allows you to wear these longer without the tell tale signs of growth. As for the 10 day claim, I got to day 6 before I removed them. I don't like wearing the same thing for more than 3 days, so this was a record. By day 6, I had a more noticeable tip wear and a few chips where I didn't press the strip done completely on my nail. As long as you cover your tips and make sure all the edges are down, I think these will last 10 days.
- Two separately packaged packets of nail strips: This means you can spread the strips out across two manis as accent nails, rather than using them all at once for one mani.
- Varied sizes: The smallest nail strip just fit my pinkie nail. So if you have small hands, these will fit you. If you have larger/wider nails, the variety of shapes will also allow you to cover all your nails. Length is also not a problem.
- No Dry Time: For the most part, this is true. No more nicks and smudges! :)
- Quick removal: The shade I wore was a glitter shade, but it came off nicely without a fight.
- Cute, varied designs: There's something for everyone. Whether it be just plain color, glitter, patterns, or complex designs. You can achieve detailed nail art without much effort or time.
- Comes with a file/buffer and cuticle stick. This is helpful if you don't own such tools, and allows you to maximize wear.
- Price: A bit pricey for what's supposed to be a one time application. I believe these retail for $8.50 at Walmart. However, it is $3.45 cheaper than the other nail strip that recently entered the market.
- Application does take some trial and error, although relatively simple.
- No way to store remaining nail strips once opened. (I'm currently testing this and will update.)
- The light pink side of the file that you use to file off the excess dulls quickly. It started becoming ineffective after I finished my left hand. You can use the hot pink side which is more like a real file. It gets the job done quicker, and won't rip the nail strip as long as you work slowly and gently.
- Please take note that once you open a packet, you must commit to using them all on the spot, or else they will dry out and become useless.
- Choose the strip closest in size to your nail without it being bigger than your nail. Remember, you can stretch the nail strips a little. So there is some flexibility, but be careful if your strips have designs.
- There are two rounded ends to choose from to place near your cuticle. I usually used the wider end, which is the attached/perforated side.
- Use the flat end of the cuticle stick to make sure all the edges are securely attached to your nail.
- Make sure you have wrapped your nail edge. I made the mistake of not wrapping them, which gave me tip wear faster.
- Top coat it to make it last longer. I would suggest a fast dry top coat like Seche Vite, so that you don't have to sacrifice dry time.
- If you have short nails, you can also cut these in half and use 1 packet for both nails. Or you can use both packets for matching nails and toes. :)
Verdict
I know this was a pretty detailed post, but if you're just skimming this. Make sure to at least read the tips. This will help maximize how much wear you can get out these nail strips. Overall, I definitely think these are worth investing in! I love the cute designs Sally Hansen is always putting out, especially the seasonal ones. I think these will look great on toes as well. Personally, I'm too lazy to change my toe color too often, so I would prefer to pick up a solid color to keep on my toes for like a month. x)
Here are some more pics of Headbanger!


 |
| shade |
Whew! I hope people find this exhaustive review helpful!
Liz
*The polishes reviewed in this post were sent to me for my honest review.
Please view my Disclosure Policy for more info.
Please view my Disclosure Policy for more info.
I don't think I've never seen these so neatly applied before. They look great!
ReplyDeleteI'm normally not a fan of nailstrips, but you totally nailed this one. Looks so good!
ReplyDeleteI have a drawer full of these (seriously, like 6 different designs) that I've collected since they came out and I just haven't used one yet... I should, they look great on you!
ReplyDeleteI am just not a fan of these. They are too pricy for what you get. I can buy a bottle of good polish for that price and use it tons and tons of times. Other thing that I don't like on these is the patterns are soooo evenly set that they look fake or like wallpaper for nails. Yet the ones that did not have a design on them look even more fake. About the only one I sort of have liked it one that has a look of quilting stitches on the polish. I certainly won't be paying the price that OPI wants for their new entry into this market...but thanks for the tips on these. You told me some things I did not realize about them.
ReplyDeleteThank you, Cathryn! I was so afraid I'd mess them up! I'm so glad they turned out well. :)
ReplyDeleteThank you, Benna! :D
ReplyDeleteI am sooo like that too! I love the cute seasonal ones Sally Hansen comes out with. I'd totally collect them and not use them. Might root from my elementary years when I used to collect stickers, which I never used. Haha..
ReplyDeleteI totally understand what you are saying about these feeling a bit pricy for a one time application, since you can buy 1 or more nail polishes with that money. And nail polish definitely lasts longer. I personally don't mind splurging on a few of the seasonal designs though. And I'm glad you found the tips informative. :)
ReplyDeleteHi, I really enjoy your blog! I just wanted to let you know something I finally discovered about these... I tried them when they first came out but I hated that I couldn't use the leftover ones at a later time. I use these stickers as pedicures and manicures and both ways they last forever now because when applying, I use a sticky base like Orly Bonder under each sticker. I have found that as long as I use a sticky base, I can use stickers even after they are no longer sticky on the back. Just last week I wore some I had opened before Halloween in Hot Wired... this is just a tip that has made the price a lot easier to justify! Give it a try!
ReplyDeleteThanks, Jamiemikal13 for the tip! I'll definitely give it a try. I was just wondering if they stuck over wet nail polish. I don't have Orly Bonder, but I guess it's time to go buy one! :)
ReplyDelete